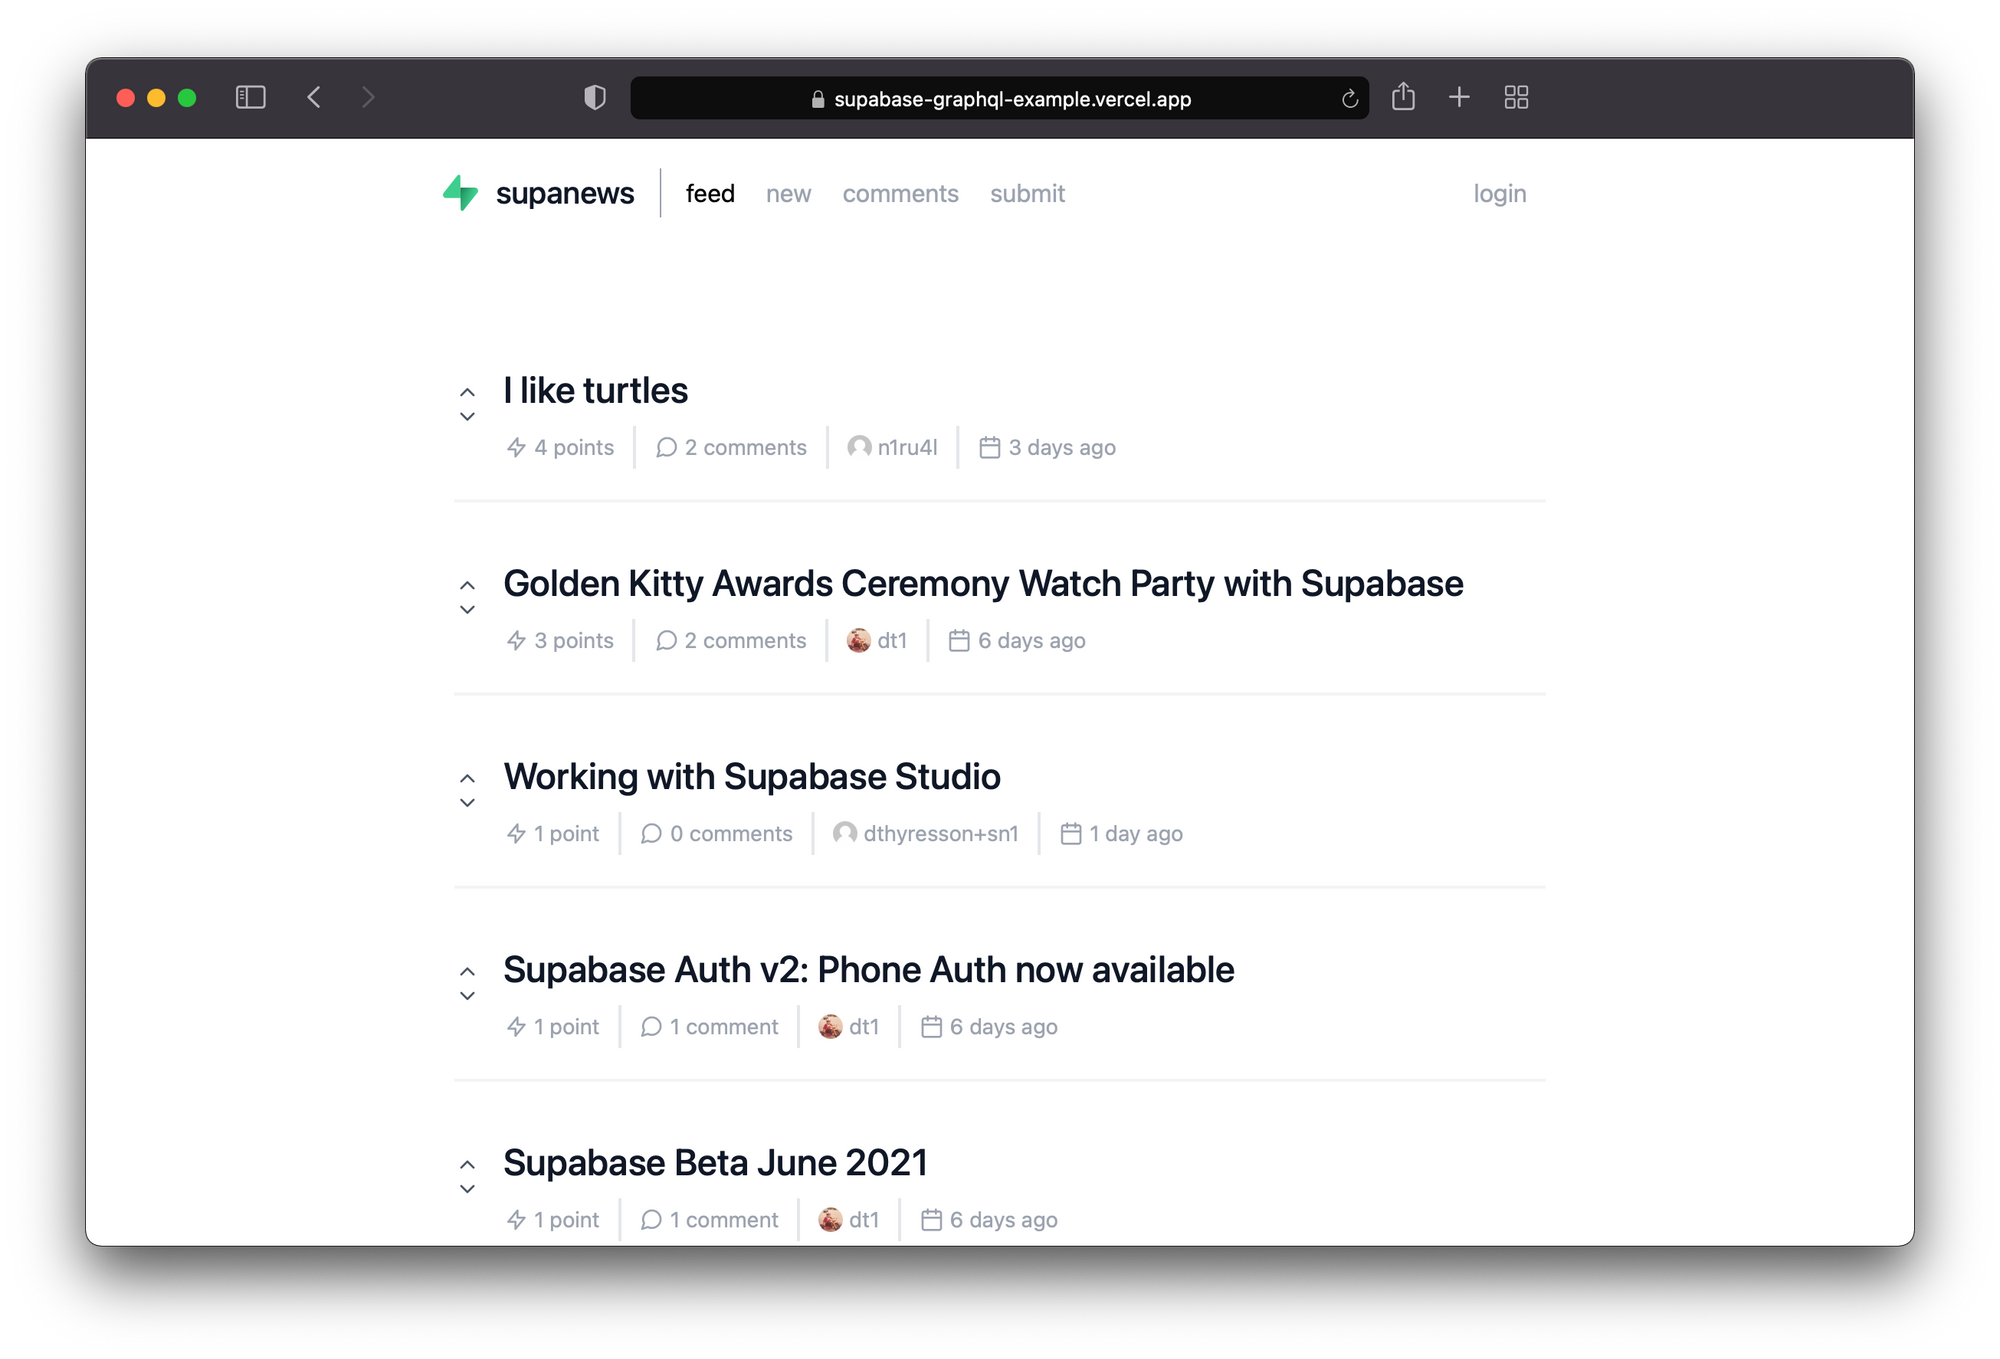
A basic HackerNews-like clone where posts can be submitted with url links and then up and down voted.

- Example: supabase-graphql-example.vercel.app
- Features: supabase-graphql-example.vercel.app/about
- CRUD (Query + Mutation Operations)
- Cursor Based Pagination
- Authorization / Postgres Row Level Security
- Supabase – Create a backend in less than 2 minutes. Start your project with a Postgres Database, Authentication, instant APIs, Realtime subscriptions and Storage.
- pg_graphql – A native PostgreSQL extension adding GraphQL support. The extension keeps schema generation, query parsing, and resolvers all neatly contained on your database server requiring no external services.
- Postgres Triggers and Postgres Functions – When votes are in, use triggers to invoke a Postgres function that calculates a post score to rank the feed
- Postgres Enumerated Types – Enums help defined the direction of a vote: UP or DOWN.
- Next.js – React Framework
- TypeScript – TypeScript is a strongly typed programming language that builds on JavaScript, giving you better tooling at any scale.
- graphql-code-generator – Generate code from your GraphQL schema and operations with a simple CLI
- gql-tag-operations-preset – This code gen preset generates typings for your inline gql function usages, without having to manually specify import statements for the documents
- urql – A highly customizable and versatile GraphQL client
- Gravatar – Default avatar profile images from Gravatar
- Registration
- Get a ranked feed of posts
- Create Post
- Delete Post
- Create Comment
- Delete Comment
- Upvote/Downvote Post
- View Profile (Account)
- View Profile (Public)
- Pagination (Posts, Comments)
cp app/.env.example app/.env- Fill in your url and anon key from the Supabase Dashboard: https://app.supabase.io/project/_/settings/api
yarn
yarn codegen
yarn workspace app devProvide the following settings to deploy a production build to Vercel:
- BUILD COMMAND:
yarn codegen && yarn workspace app build - OUTPUT DIRECTORY:
./app/.next - INSTALL COMMAND:
yarn - DEVELOPMENT COMMAND:
yarn codegen && yarn workspace app dev --port $PORT
- Fetch latest GraphQL Schema
yarn codegen:fetch- Generate Types and Watch for Changes
yarn codegen:watch- Run server
yarn workspace app devNote: You need to call select graphql.rebuild_schema() manually to synchronize the GraphQL schema with the SQL schema after altering the SQL schema.
brew install dbmate- Setup
.envwithDATABASE_URL - Dump Schema
cd data
dbmate dump
Note: If
pgdumpfails due to row locks, a workaround is to grant thepostgresrole superuser permissions withALTER USER postgres WITH SUPERUSER. After dumping the schema, you should reset the permissions usingALTER USER postgres WITH NOSUPERUSER. You can run these statements in the Superbase Dashboard SQL Editors.
-
Profile belongs to auth.users
-
Post
-
Comment belongs to Post and Profile
-
Vote belongs to Post (can have a direction of UP/DOWN)
-
direction enum is “UP” or “DOWN”
- Post
urlis unique - Vote is unique per Profile, Post (ie, you cannot vote more than once — up or down)
See: ./data/db/schema.sql
Note: The schema includes the entire Supabase schema with auth, storage, functions, etc.
A data file for all Supabase Blog posts from the RSS feed can be found in ./data/seed/blog_posts.csv and can be loaded. Another file for comments is available as well.
Note: Assumes a known profileId currently.
See: ./graphql/schema/schema.graphql
See: ./graphql/queries/
Use: https://mvrfvzcivgabojxddwtk.supabase.co/graphql/v1
Note: Needs headers
Content-Type: application/json
apiKey: <supabase_anon_key>
GraphiQL is an in-browser IDE for writing, validating, and testing GraphQL queries.
Visit http://localhost:3000/api/graphiql for the Yoga GraphiQL Playground where you can experiment with queries and mutations.
Note: Needs headers
Content-Type: application/json
apiKey: <supabase_anon_key>
Note: In order for the RLS policies authenticate you, you have to pass an authorization header (see example):
authorization: Bearer <access_token>
query {
  rankedFeed: postCollection(orderBy: [{ voteRank: AscNullsFirst }]) {
    edges {
      post: node {
        id
        title
        url
        upVoteTotal
        downVoteTotal
        voteTotal
        voteDelta
        score
        voteRank
        comments: commentCollection {
          edges {
            node {
              id
              message
              profile {
                id
                username
                avatarUrl
              }
            }
          }
          commentCount: totalCount
        }
      }
    }
  }
}You can query all policies via: select * from pg_policies.
See: Row Level Security Matrix (RLS)
dbmatecan createschema_migrationstables in schemas. To make sure they are not included in your GraphQL Schema:
revoke select on table public.schema_migrations from anon, authenticated;comment on schema public is e'@graphql({"inflect_names": true})';- Try the heartbeat to see if pg_graphql can access requests
select graphql_public.graphql(
	null,
	$$ { heartbeat }$$
)
Returns:
{ "data": { "heartbeat": "2022-07-28T17:07:07.90513" } }- Is the
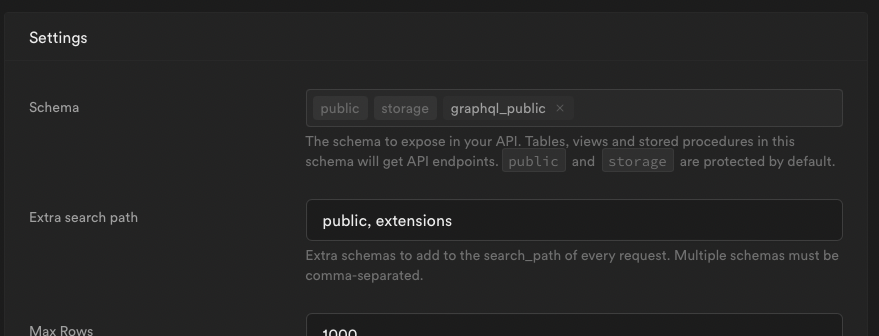
public_graphqlschema not exposed properly?
Getting an 406 status or error message like:
{
    "message": "The schema must be one of the following: public, storage"
}
Then be sure to expose the graphql_public in Settings > Project settings > API.
The schema to expose in your API. Tables, views and stored procedures in this schema will get API endpoints.

 https://github.com/supabase-community/supabase-graphql-example