🕒 We track time for you while you do the coding. Available at DevTime.Tech
- Sign up for DevTime on https://devtime.tech. It’s still a work in progress so you might notice a few bugs
and a few incomplete views. Report them, on the issues tracker right here. - Get the DevTime extension for your editor. We have the one for VS-Code available atm – https://marketplace.visualstudio.com/items?itemName=DevTime.devtime
- Get your API-key from the activity tab. Now when you open VS-Code, it will prompt you for this API key. Copy/paste the key there and you’re good to go!!
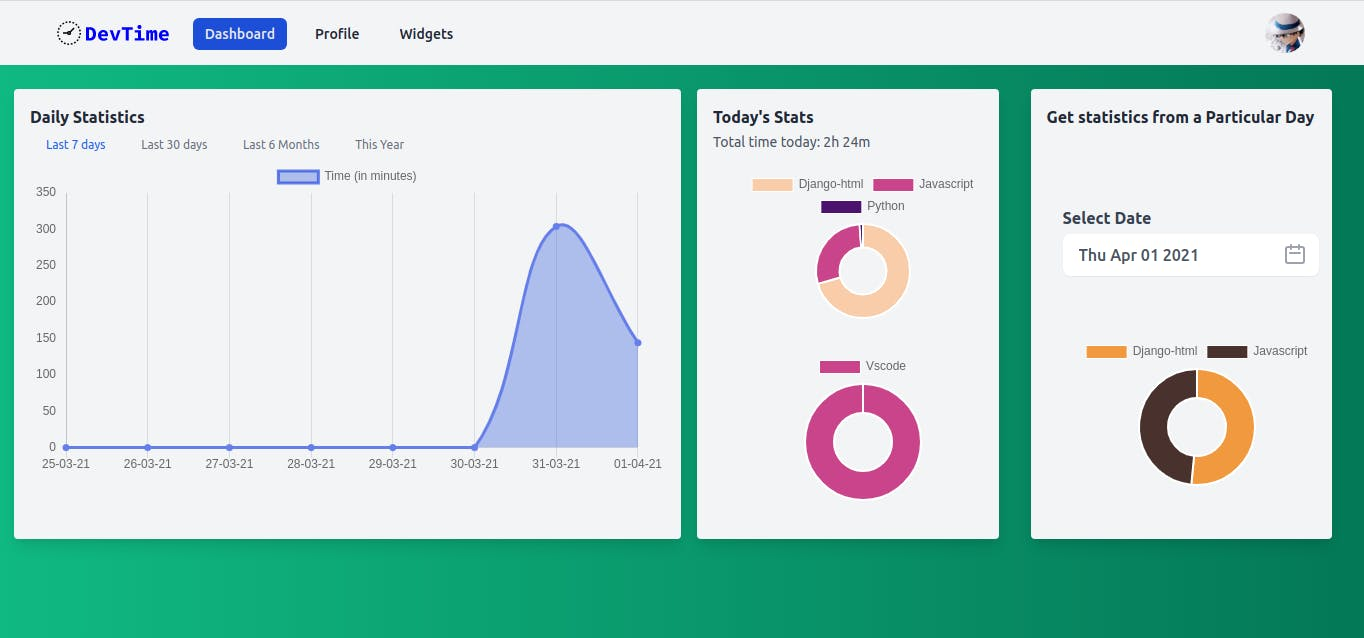
- Now now you can just focus on writing your code. You can go to the dashboard – https://devtime.tech/dashboard and see your activity. But hey that’s not
even half of what DevTime means to become, so you keep writing your code, we’ll keep adding new fun features. We’ll notify you when we do 😄
The main server is a Flask app – designed so to keep it small and lightweight. The production database
is a PostgreSQL DB on Heroku, although the app is configured to run with SQLite without any additional
dependencies (especially useful for development environments).
To get the repository on your local device, install git and run:
git clone https://github.com/nikochiko/devtime.git
-
Make changes in the app/config.py file and edit the Auth0 keys as per your app.
Create the app on Auth0. You’ll also have to create a GitHub OAuth
app, and connect it from the Auth0 connections dashboard. -
Navigate to
server/directory in the terminal and install the dependencies.
cd server/

# optional: install and setup virtualenv
python3 -m venv venv/  # this sets up a virtual environment in venv/ directory
source venv/bin/activate  # activate that venv. use `deactivate` to exit it later

python3 -m pip install -r requirements.txt
- Copy
.env.exampleto.env. This is where we’ll keep top-level configuration.
Saves us the hassle of going into editing code every time we change something. This is
especially useful to store config variables that are sensitive (api-keys, secrets).
For example, on Linux:
cp .env.example .env
- Now run the server with Flask
flask run -h 0.0.0.0 -p 8000
Now go to your browser and head to http://localhost:8000 to see the website in action.
- Authentication setup with GitHub OAuth via Auth0
- API-Key functionality
- Ability to receive heartbeats from editors and store them as coding sessions in the database
- Better UI/UX
- Coding charts – hourly, daily, weekly
- Widgets of these charts for showing on Portfolios
- Widget for whether the user is currently coding/idle/offline
- Editor plug-ins:
- VS-Code – https://github.com/nikochiko/devtime-vscode
- Atom
- Sublime

https://github.com/nikochiko/devtime
Leave a Reply